Laser Engraving Cutting Software User Manual----RDCAM V8.0
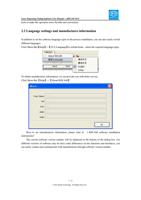
When a computer is connected with many sets of laser machines, click “add”, and click the
check box to add which needed device.
Click【add】or 【modify】, will pop up the dialog box as above showed, then click 【test】
to test whether link with the device successfully.
Searching already connected device at present, and choose the machine corresponding to the
IP address from the drop-down list.
4.2 Layer processing
First, check “according to layer order” in 【Handle】->【Path optimize】, then click “OK” to
exit.
Layer reorder: Click button “Up”, “Down” can adjust the layers, or drag the layer to the
specified location directly.
Besides, you must check the “Path optimize” option.
4.3 Graphic Positioning position
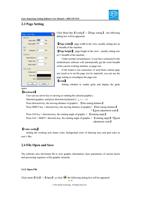
Setting laser head back position when finished processing. (Current position/Original anchor
point/Machine zero).
Current Position: Laser head backs to the position before processing.
Original anchor point: Laser head backs to last anchor point, the anchor point may be set by
panel.
Machine zero: Laser head backs to the zero of the machine.
4.4 Go Scale & Cut Scale
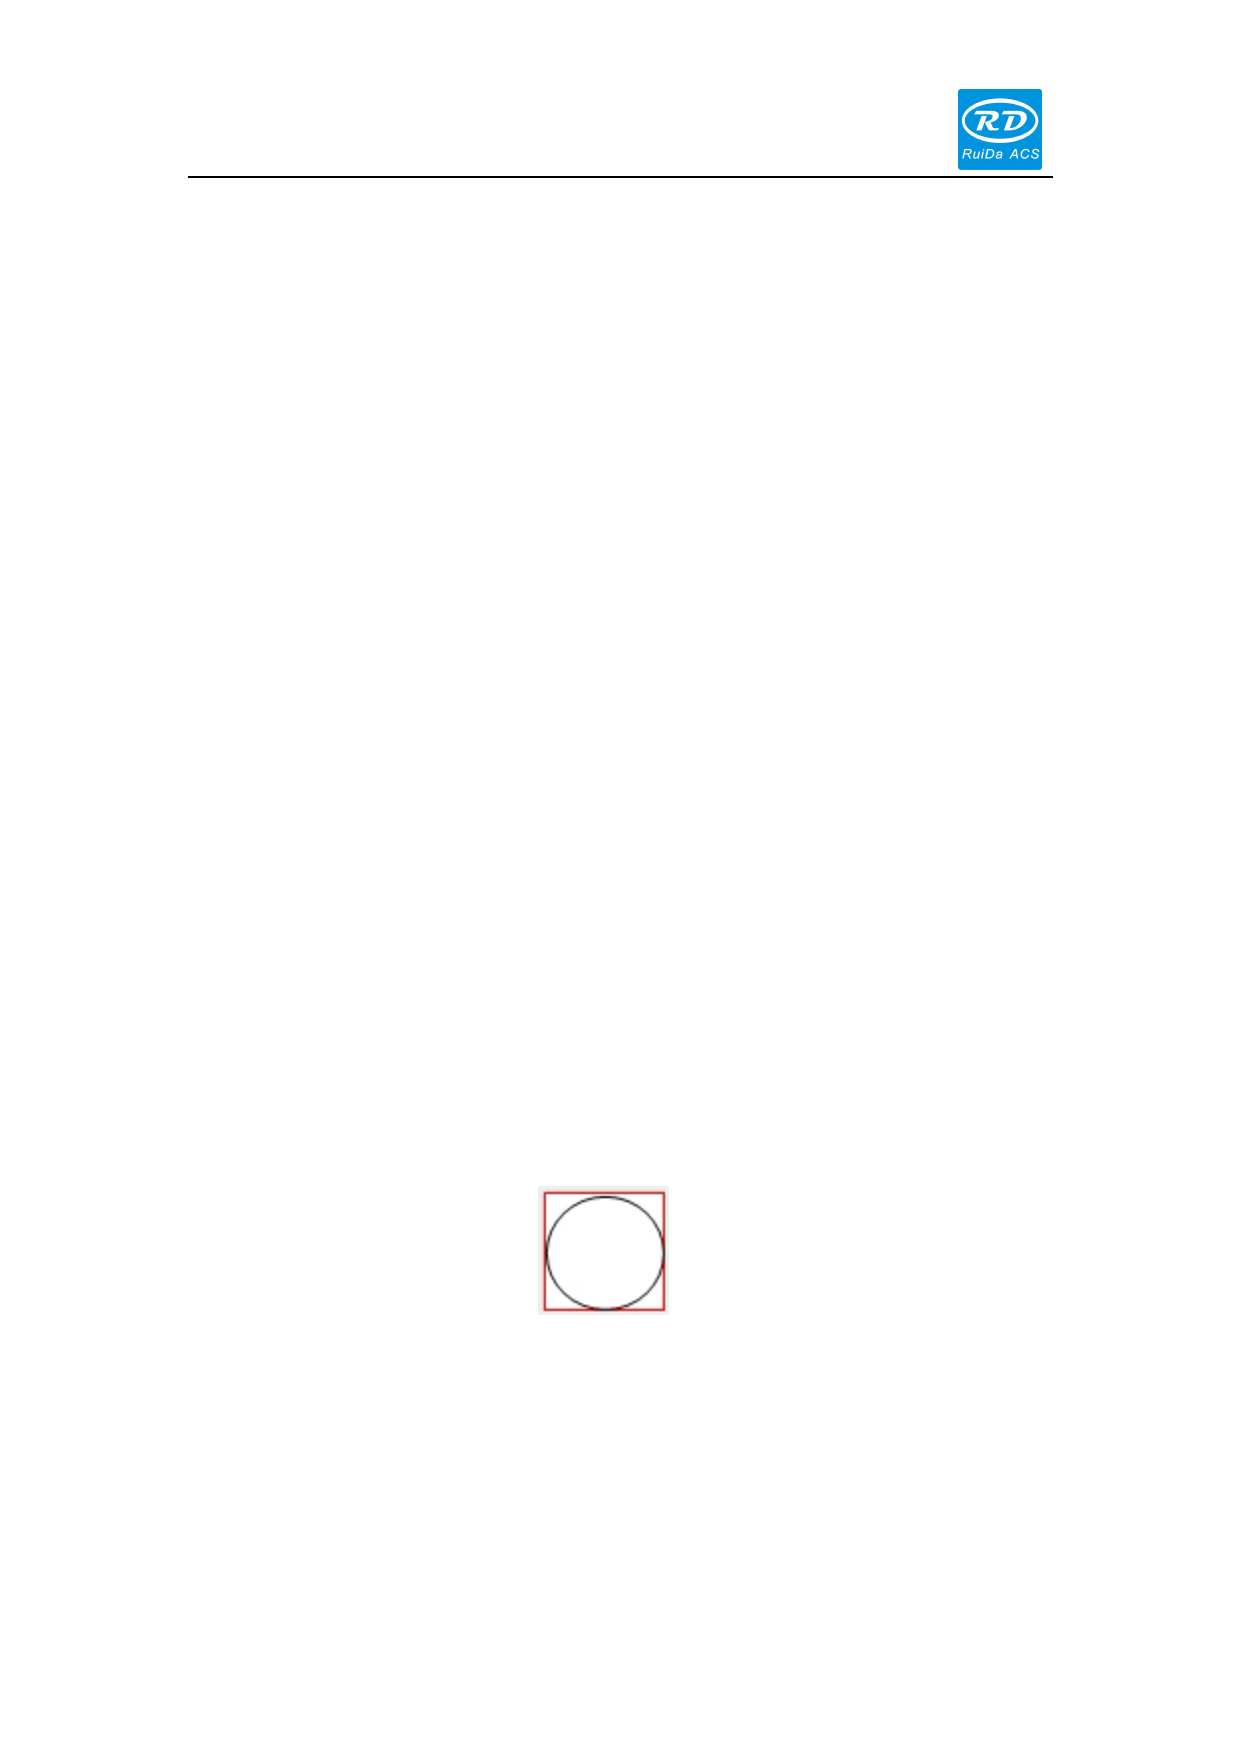
For example “Go Scale”, as the following figure shown, the graphic is actual circle, and the red
rectangle outside the circle is the smallest rectangle, click button “Go Scale”, laser head will run
along the rectangular path once.
For Example “Cut Scale”, as the following figure shown, the graphic is actual circle, and the red
rectangle outside the circle is the smallest rectangle, click button “Cut Scale”, laser head will be
cut along the rectangle.
59 / 76
© 2016 Ruida Technology. All Rights Reserved.

